
Make Your Own Natural Greek Yogurt at Home
Greek yogurt has taken the world by storm due to its creamy texture, high protein content, and rich taste. But did you know you can make this delicious superfood right in your own kitchen? Homemade Greek yogurt is fresher, healthier, and free from additives or preservatives. This guide will show you how to make your own natural Greek yogurt at home—step-by-step—with a detailed explanation of the benefits of each step and ingredient.
What Is Greek Yogurt?
Greek yogurt is a thick, creamy yogurt that has been strained to remove most of its whey (the watery part of milk). This gives it a denser consistency, more protein, and less sugar than regular yogurt.
Unlike most store-bought versions that may include artificial thickeners, homemade Greek yogurt is 100% natural. You control what goes into it—just milk and a bit of starter yogurt.
Ingredients You’ll Need
1. Milk (Any Type)
Full-fat milk gives you the creamiest and richest yogurt.
Low-fat or skimmed milk works fine if you’re watching fat intake.
Benefits:
Milk is a source of calcium, protein, and vitamin D.
Using fresh milk ensures no added hormones or chemicals.
Heating the milk kills unwanted bacteria, creating a clean base for fermentation.
2. Plain Yogurt (Starter Culture)
Use 2–3 tablespoons of plain Greek yogurt with live and active cultures.
Benefits:
The live cultures (like Lactobacillus bulgaricus and Streptococcus thermophilus) ferment the milk and turn it into yogurt.
Acts as a probiotic—great for gut health and digestion.
Once you make your first batch, you can use a spoon from that as a starter for your next one.
Step-by-Step Instructions
Step 1: Heat the Milk
Pour 1 liter of milk into a clean pot.
Heat on medium until it reaches 180°F (82°C). This pasteurizes the milk and improves thickness.
Why it’s important:
This step kills any bad bacteria and prepares the proteins to coagulate better when the yogurt sets.
Step 2: Cool the Milk
Allow the milk to cool down to 110°F (43°C).
Too hot and it’ll kill the yogurt culture; too cold and it won’t activate.
Why it’s important:
This is the perfect temperature range for live cultures to start multiplying and fermenting the milk.
Step 3: Add the Yogurt Starter
Mix 2–3 tablespoons of plain yogurt into a small cup of the warm milk.
Stir until smooth, then add it back to the pot and mix gently.
Why it’s important:
This distributes the cultures evenly, ensuring a uniform yogurt consistency.
Step 4: Let It Incubate
Cover the pot with a lid and a towel or blanket.
Let it sit undisturbed for 6–12 hours in a warm place like an oven with the light on or a yogurt maker.
Why it’s important:
The longer it sits, the tangier and thicker the yogurt becomes. This is where the magic happens—the bacteria ferment the lactose and create that signature yogurt tang.
Step 5: Strain the Yogurt
Line a strainer or colander with cheesecloth or a clean cotton cloth.
Pour the yogurt into it and let it drain for 2–4 hours (or overnight in the fridge) until it reaches your desired thickness.
Why it’s important:
Straining removes the whey, leaving behind thick, creamy Greek yogurt. The longer you strain, the thicker it gets.
Step 6: Store and Serve
Transfer your Greek yogurt into a clean container and refrigerate.
It stays fresh for up to 2 weeks.
Tip: Save a few tablespoons for your next batch—no need to buy store-bought starter again!
Benefits of Homemade Greek Yogurt
1. Chemical-Free & Preservative-Free
No artificial sweeteners, thickeners, or preservatives.
You avoid ingredients like gelatin, pectin, or powdered milk often found in commercial yogurts.
2. High in Protein
Great for weight management, muscle repair, and satiety.
A perfect snack for fitness lovers and active people.
3. Rich in Probiotics
Supports digestive health by restoring the gut flora.
Can help with issues like bloating, IBS, or constipation.
4. Cost-Effective
Making your own yogurt can save you a lot in the long run.
One liter of milk gives you about 2–3 cups of thick Greek yogurt.
5. Versatile in Use
Use it in smoothies, dips, salad dressings, baking, or just with fruits and honey.
Creative Ways to Use Homemade Greek Yogurt
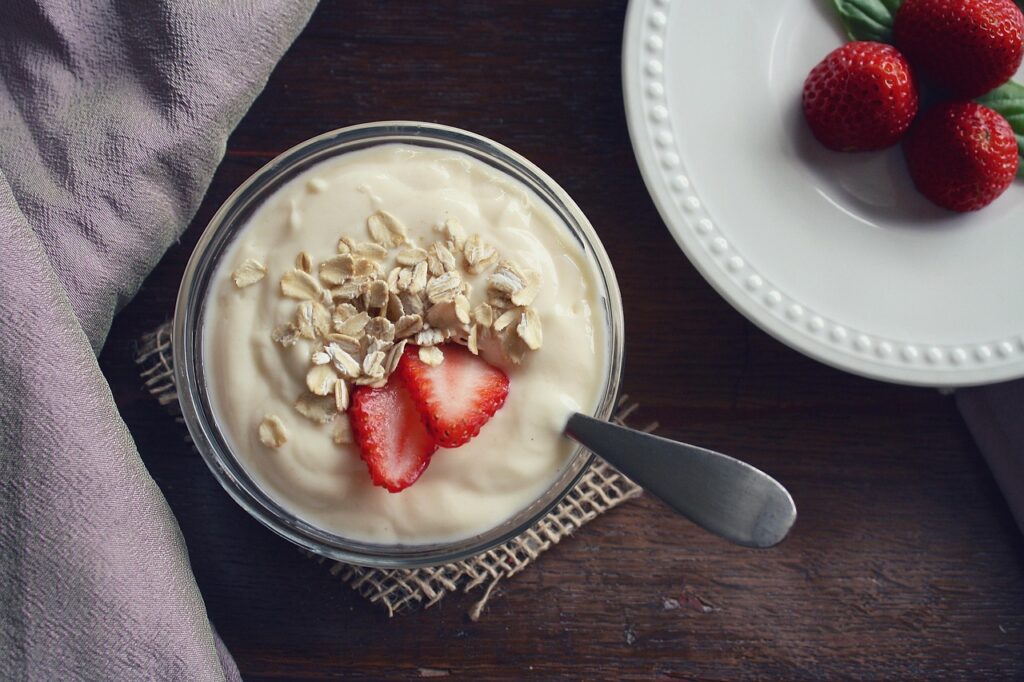
1. Breakfast Bowl
Top with granola, berries, nuts, and a drizzle of honey.
2. Healthy Dessert
Mix with cocoa powder and a little maple syrup for a guilt-free chocolate treat.
3. Skin Care Mask
Mix yogurt with honey and turmeric for a natural face mask.
4. As a Cooking Substitute
Replace sour cream, mayonnaise, or heavy cream in recipes for a healthier option.
Safety Tips for Homemade Yogurt
Always use sterilized equipment to avoid contamination.
If your yogurt smells sour or looks moldy, discard it.
Don’t add sugar, flavorings, or fruits during fermentation—only after it has set.
Conclusion: Start Your Yogurt Journey Today!
Making your own Greek yogurt at home is a rewarding experience that combines health, savings, and delicious taste. Once you try it, you may never go back to store-bought!
Take that first step today—grab some milk, a bit of plain yogurt, and start fermenting your way to a healthier life.
Want more natural and healthy DIY recipes?
Check out more posts on our website for homemade food ideas, baby-friendly recipes, and chemical-free living tips.